RIDO saddles offer you the choice of as to how much pressure, if any, you want to bear on that sensitive area of your anatomy (the perineum), simply by slightly adjusting the saddle’s angle of tilt, up or down around the horizontal.
Assisted by longer than usual rails of standard diameter and parallel distance apart, these one-size-fits-all saddles fit to any regular bicycle seat-post clamp. Here’s a four-point guide to getting set up. “I think this Rido Lite saddle is fantastic. When I bought it I did not read the instructions carefully enough and decided that it was not up to the job. 1
(Your might want to protect the rails at this stage with some tape) 2Sit on your bike (your very first contact with the saddle can initially feel quite strange to some cyclists because the pressure zones are just so completely different, but don’t worry about that for the moment) and check the saddle for height. R2’s usually need the seat post to be dropped by an inch or so, whilst the RLt will necessitate a slight lifting. For the R2, your sit bones should ideally naturally rest just behind the uppermost point of curvature of those radiussed cushions. When coasting you can rest even further back and when pedaling leverage is needed for climbing you can shift forward and push against the front of those cushion pads. In the case of the RLt, those two textured areas are for purchase on the saddle when pedalling down hard. Your sit bones will rest just above them, tangential to the top of the curvature. In ‘down-on-the-hoods’ and aero-positions your sit bones will be positioned slightly behind these points. Now go for a ride!
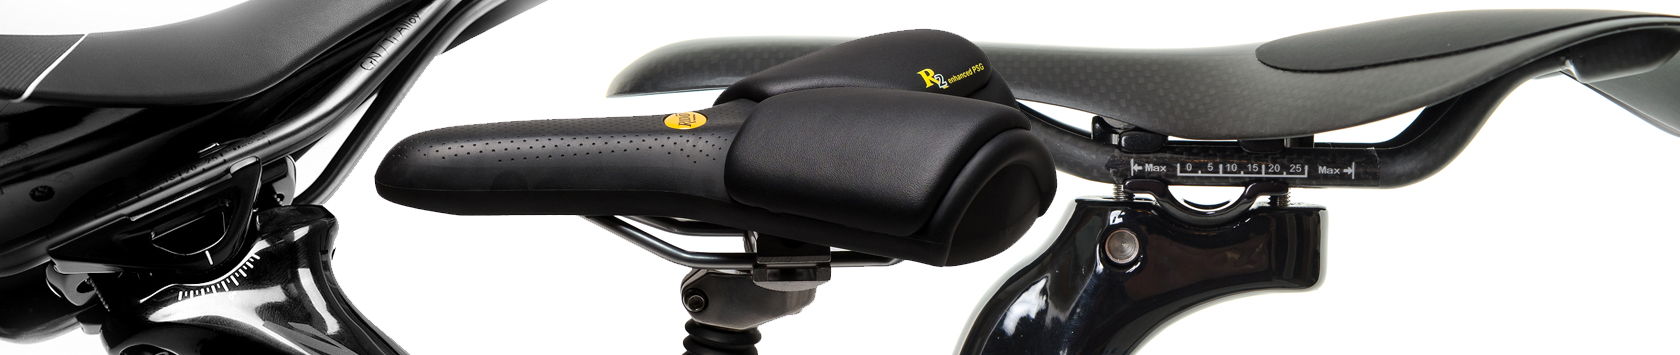
3Now you may want to tweak the nose of the saddle down (or up) to suit. Take note that the tiniest of angle adjustment (like one ratchet notch up or down on the seat post bracket) can make quite a big difference in the feel. This is down to RIDO saddles’ unique shape that offers a wide variety of contact points and alignments. 4Ride around for a while with the favoured angle of adjustment and feel whether an adjustment back or forward on the rails is necessary. (Please stay within the MAX-MAX scale). |
Ultimately of course it is all down to how you feel following a distance ride, after which any ‘micro adjustment’ can be made if necessary. The optimum position is often just a notch on the seat post clamp, a lateral centimeter or a vertical inch away.
But just relax. Note how your saddle feels quite different in the beginning and then after a while the biggest thing you will notice is that you haven’t been conscious of sitting on a saddle anymore and that there’s no after-ride soreness or numbness……. with RIDO saddles, the further you ride, the better they get! .… and lastly, these customer’s experiences with their RLt saddles might be useful:
(1) “Just thought I would drop you a line regarding my recent purchase of RLT saddle. I am finding it difficult to relieve pressure on my perineum. I have started off in the default position and if I tilt the nose down slightly I find it puts more pressure on my wrists. On a plus point my sit bones no longer feel bruised as from my Specialized Troupe saddle. Do you have any suggestions to help me configure correct set up. Our advice in reply:
“Pressure mapping tests (of the RLt) show that perineal pressure is pretty much non-existent but, of course, degrees of pressure in this region can be upped by bearing down on the nose more than usual in a more extreme aero position. “It sounds to me that after having tried tweaking the nose down very very slightly (a notch on the clamp ratchet can make a significant difference) you would benefit from shifting the saddle forward a bit (ensure you remain within the MAX-MAX scale on the rails) so that the predominant resting position of your sit bones adjusts to just behind the uppermost point of curvature of the two sitting areas. If you have an off-set seat post so much the better. “Give this a try and let us know how you get on. Our saddles are designed to give not only a wide variety of contact points whilst riding but also a broad range of set-up positions via very minor degrees of adjustment, and as such it can take some riders longer to find that ultimate ‘sweet spot’ position than others. Variety in this instance isn’t so much the spice of life but an inducement to be a bit over sensitive at times!” …. the result:
(2) “Hi guys. What a revelation! I did what you suggested in moving the saddle forwards. I also lowered the saddle height slightly. Have just come back from a sixty mile ride and the only thing that is sore is my legs. Arguably the best bike purchase I have made. “I don’t think there is such a thing as a perfect saddle but this comes pretty close. Many thanks.” (3) “Hi guys, I’ve had the RLt for a month now and I thought I’d let you know my thoughts. I’m a 52 year old male club cyclist. I’ve struggled for years to find a comfortable saddle and I’d accepted that saddle discomfort and mild numb nuts was just part of the deal when cycling. “I’m doing LeJog in September and after reading the reviews on your website I thought I’d give your RLt a go. The saddle is well made, looks the part on a road bike and isn’t expensive. “Initially I couldn’t get the saddle set up in an rideable position despite following the instructions; my weight was always on my hands. A fellow club member has the same saddle and he advised lifting the nose a few degrees. This transformed my whole ride. The window for a comfortable position is much smaller than for other saddles. It took my friend 6 weeks to get it right but now he’ll never ride another saddle (he had repeat episodes of perineal abscesses that have been eliminated since switching to a RIDO). “I’ve given the saddle a fair test with club rides, high intensity turbo sessions and a three day ride-out with consecutive rides of 45, 90 and 80 miles. There were no issues with soreness. As others have reported, when you get back on your bike mid-ride there is no sudden stab of pain. |